QuickStart - Deploying ComfyUI 1
Step-by-step walkthrough for deploying a ComfyUI Pod on Meshive — workspace, template, resources, and connect.
-
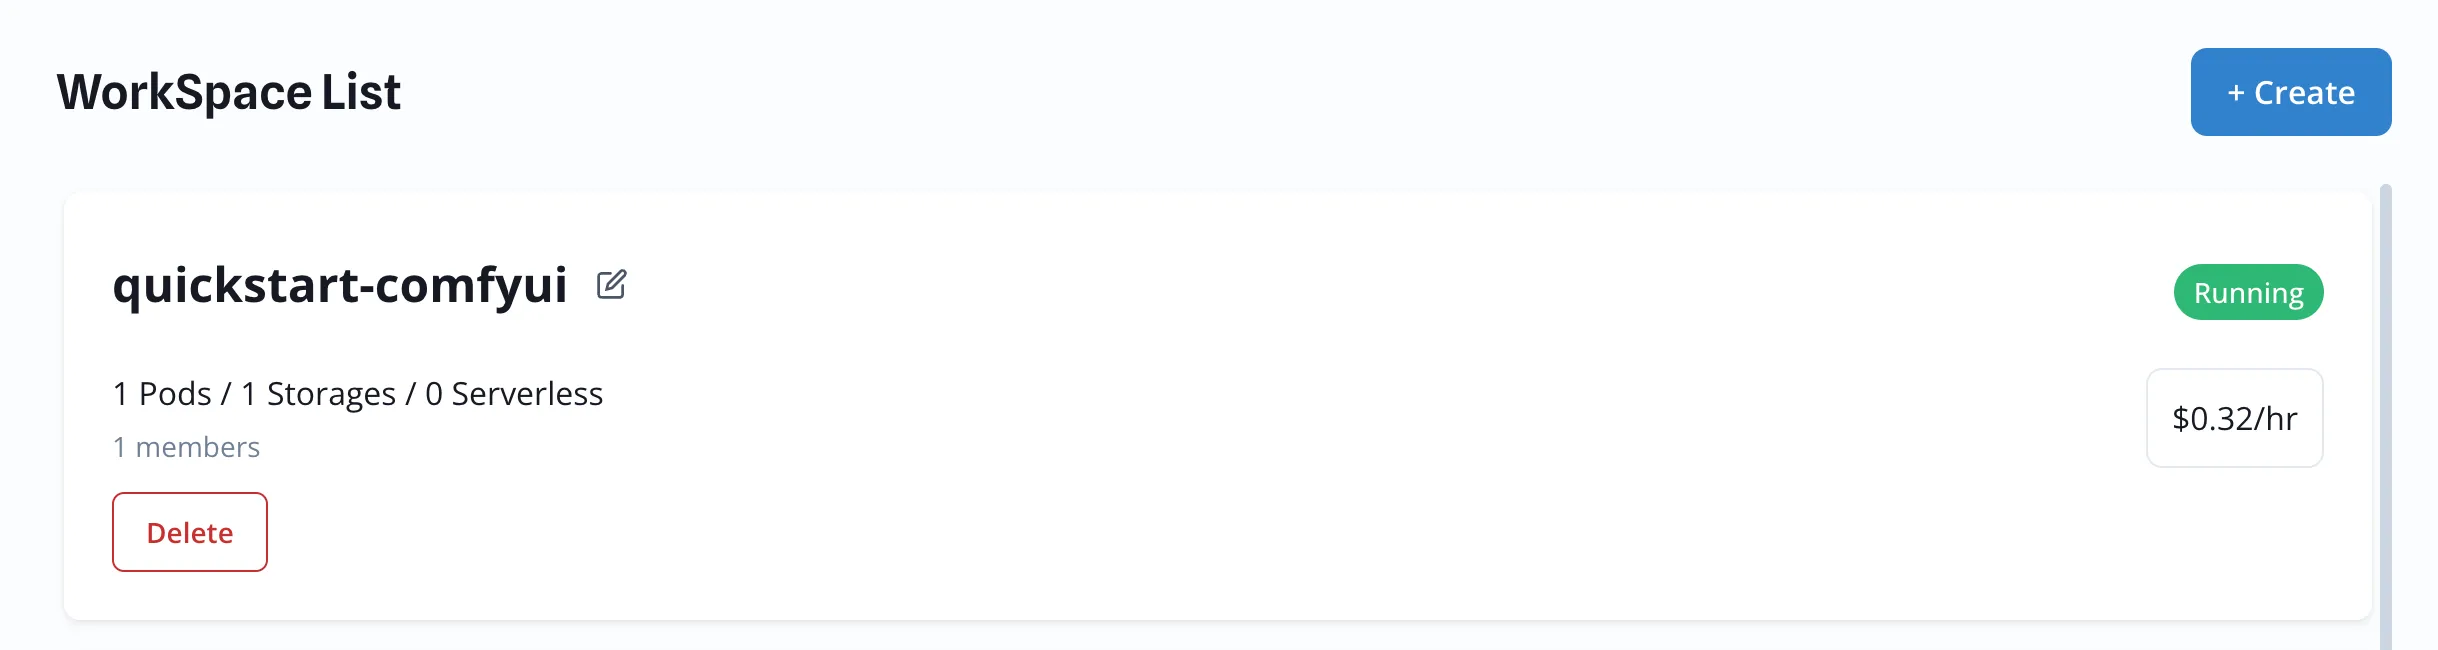
Select Workspace
Section titled “Select Workspace”Create a Workspace and select it.
-
Deploy Pod — Select Template
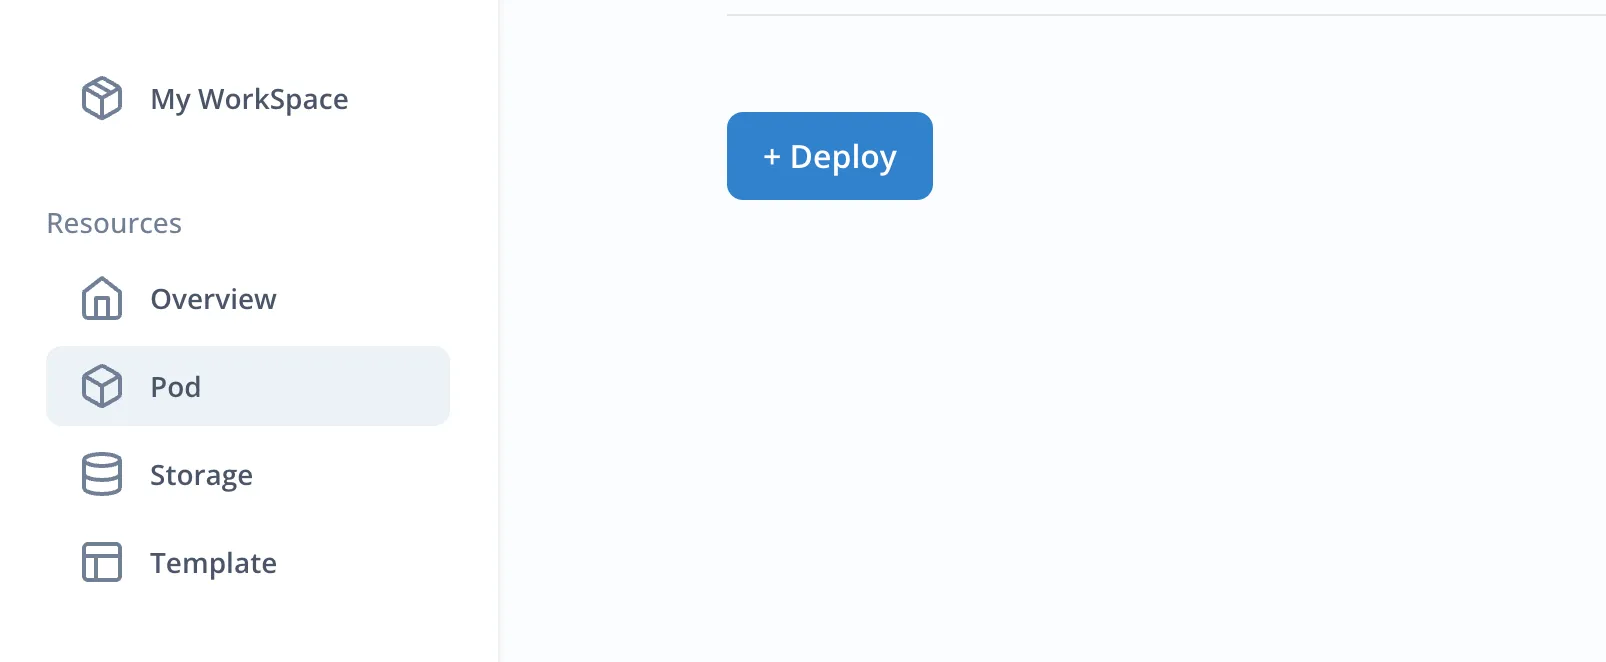
Section titled “Deploy Pod — Select Template”Click Pod in the sidebar, then click the Deploy button.
Select the Generative box and click ComfyUI in the Image section.
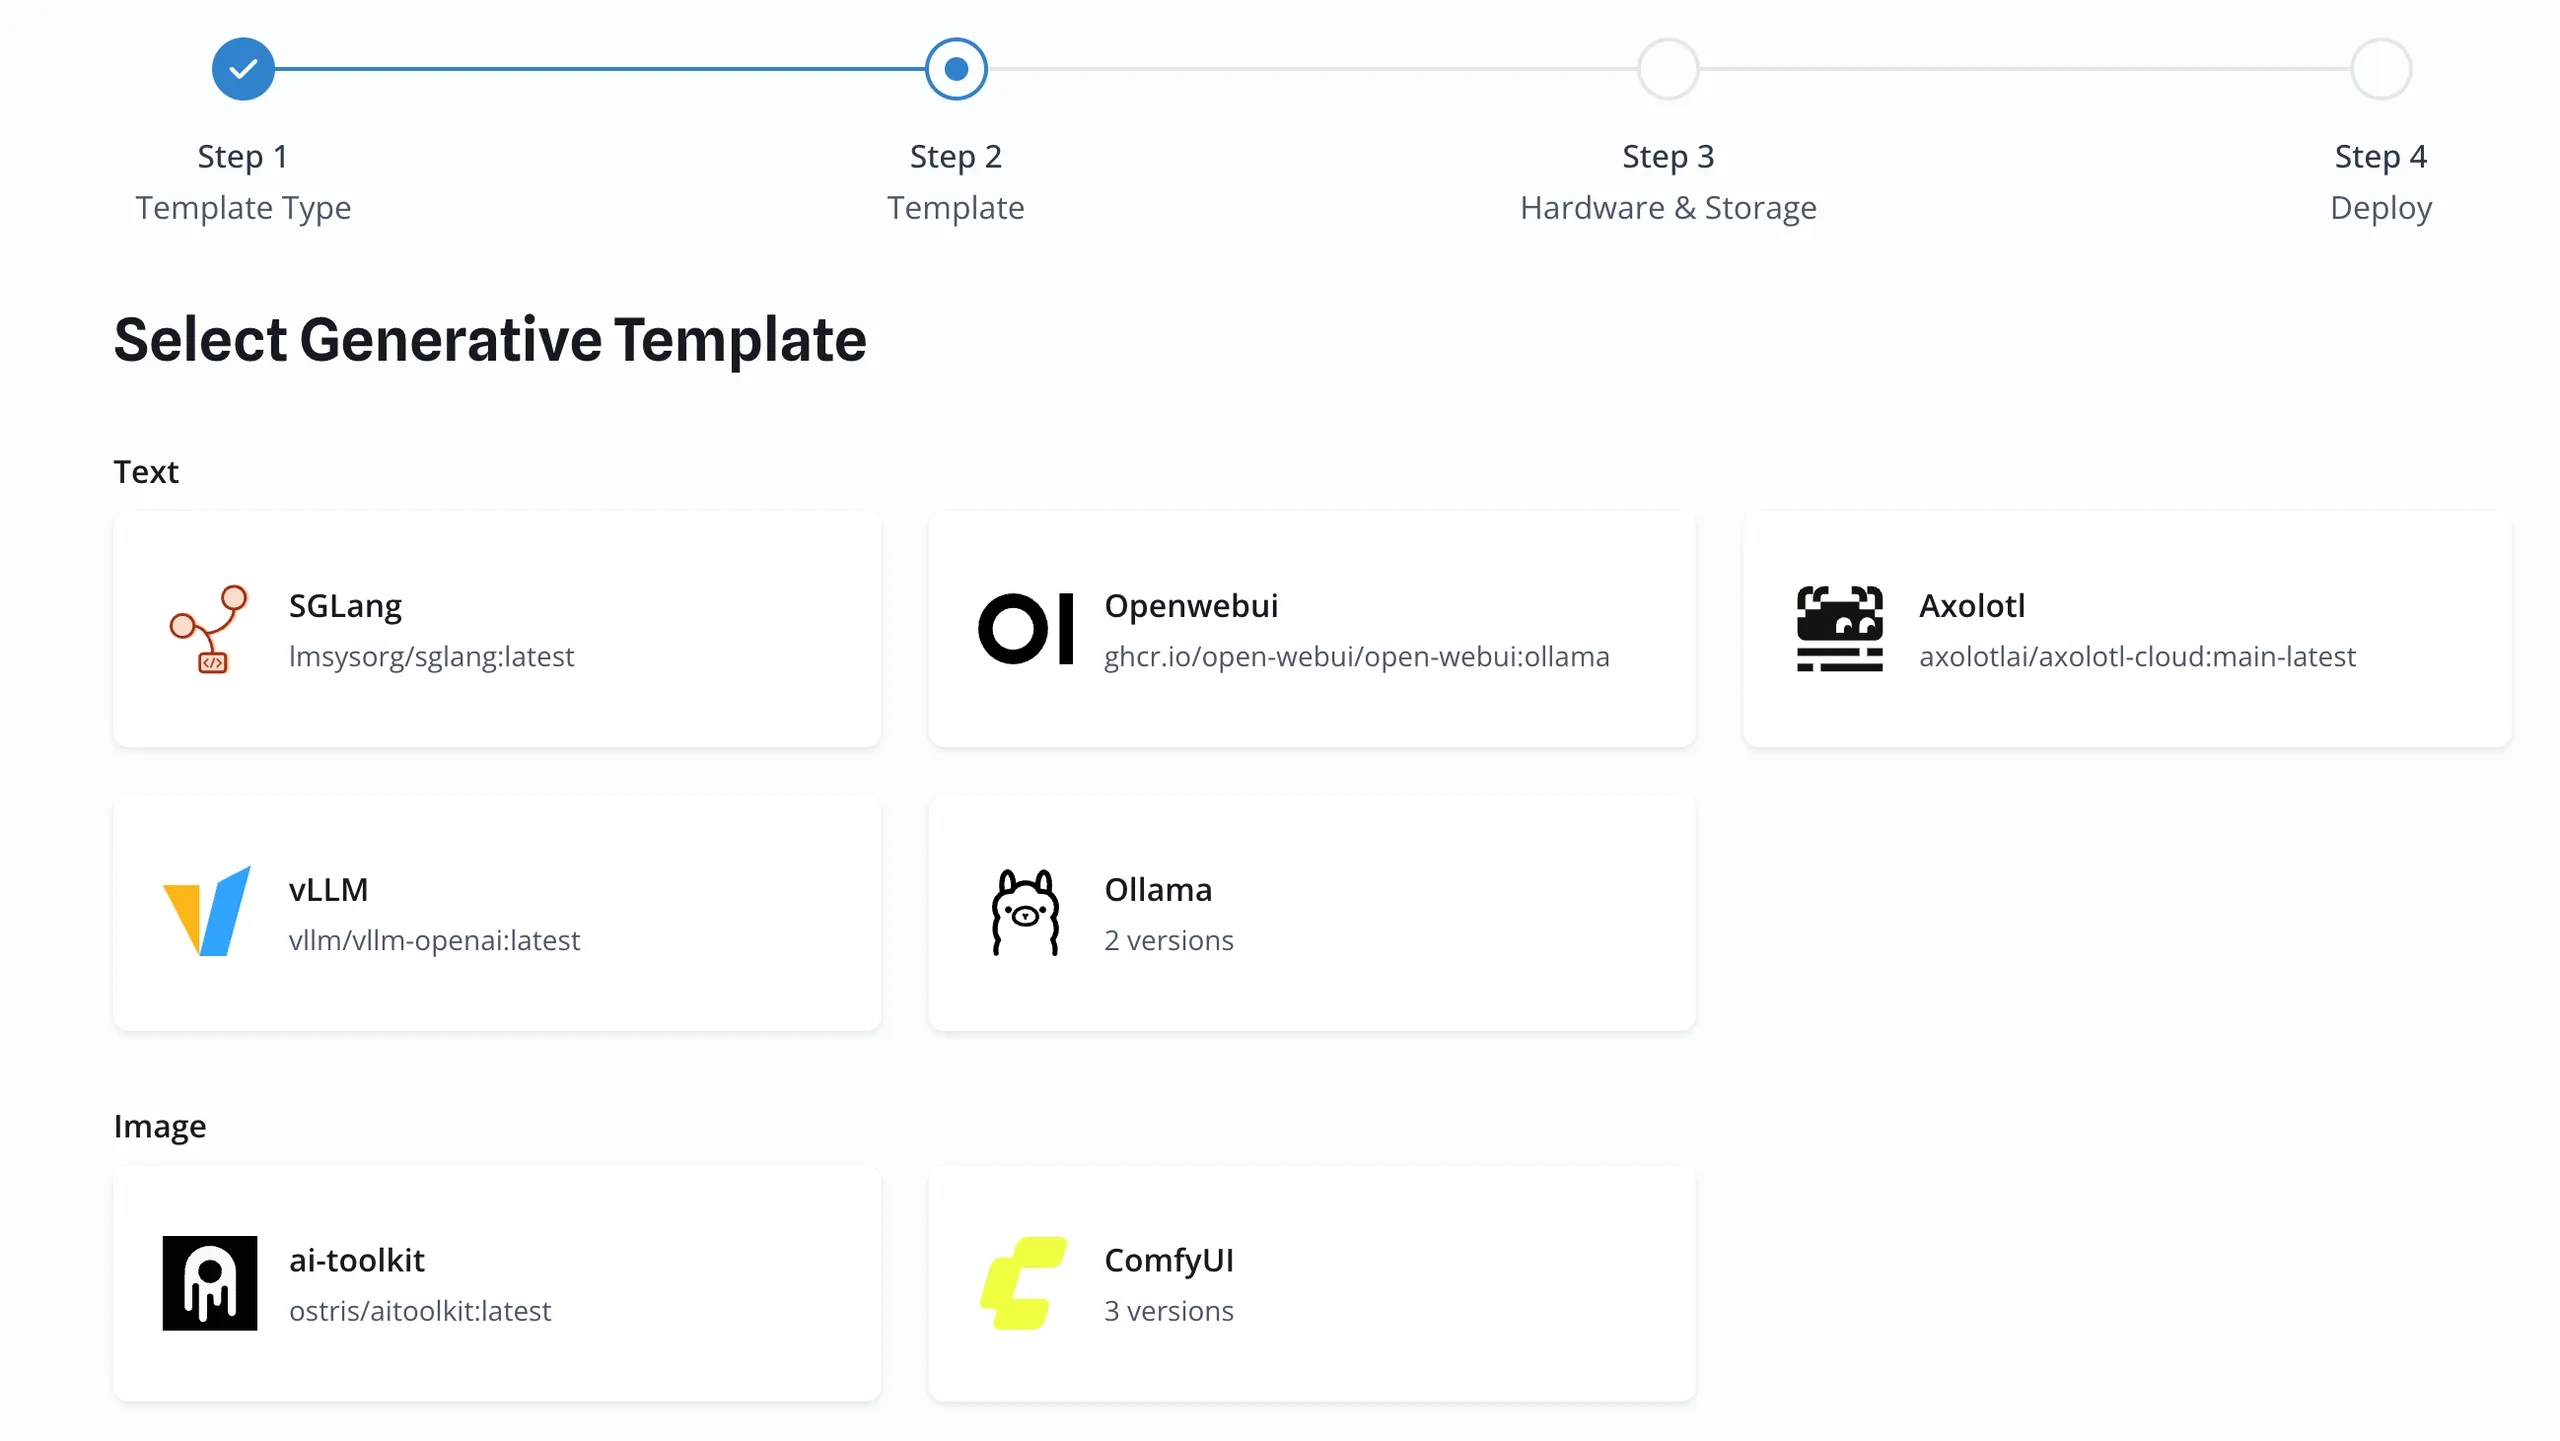
Select the image tag —
base-torch2.8.0-cu128.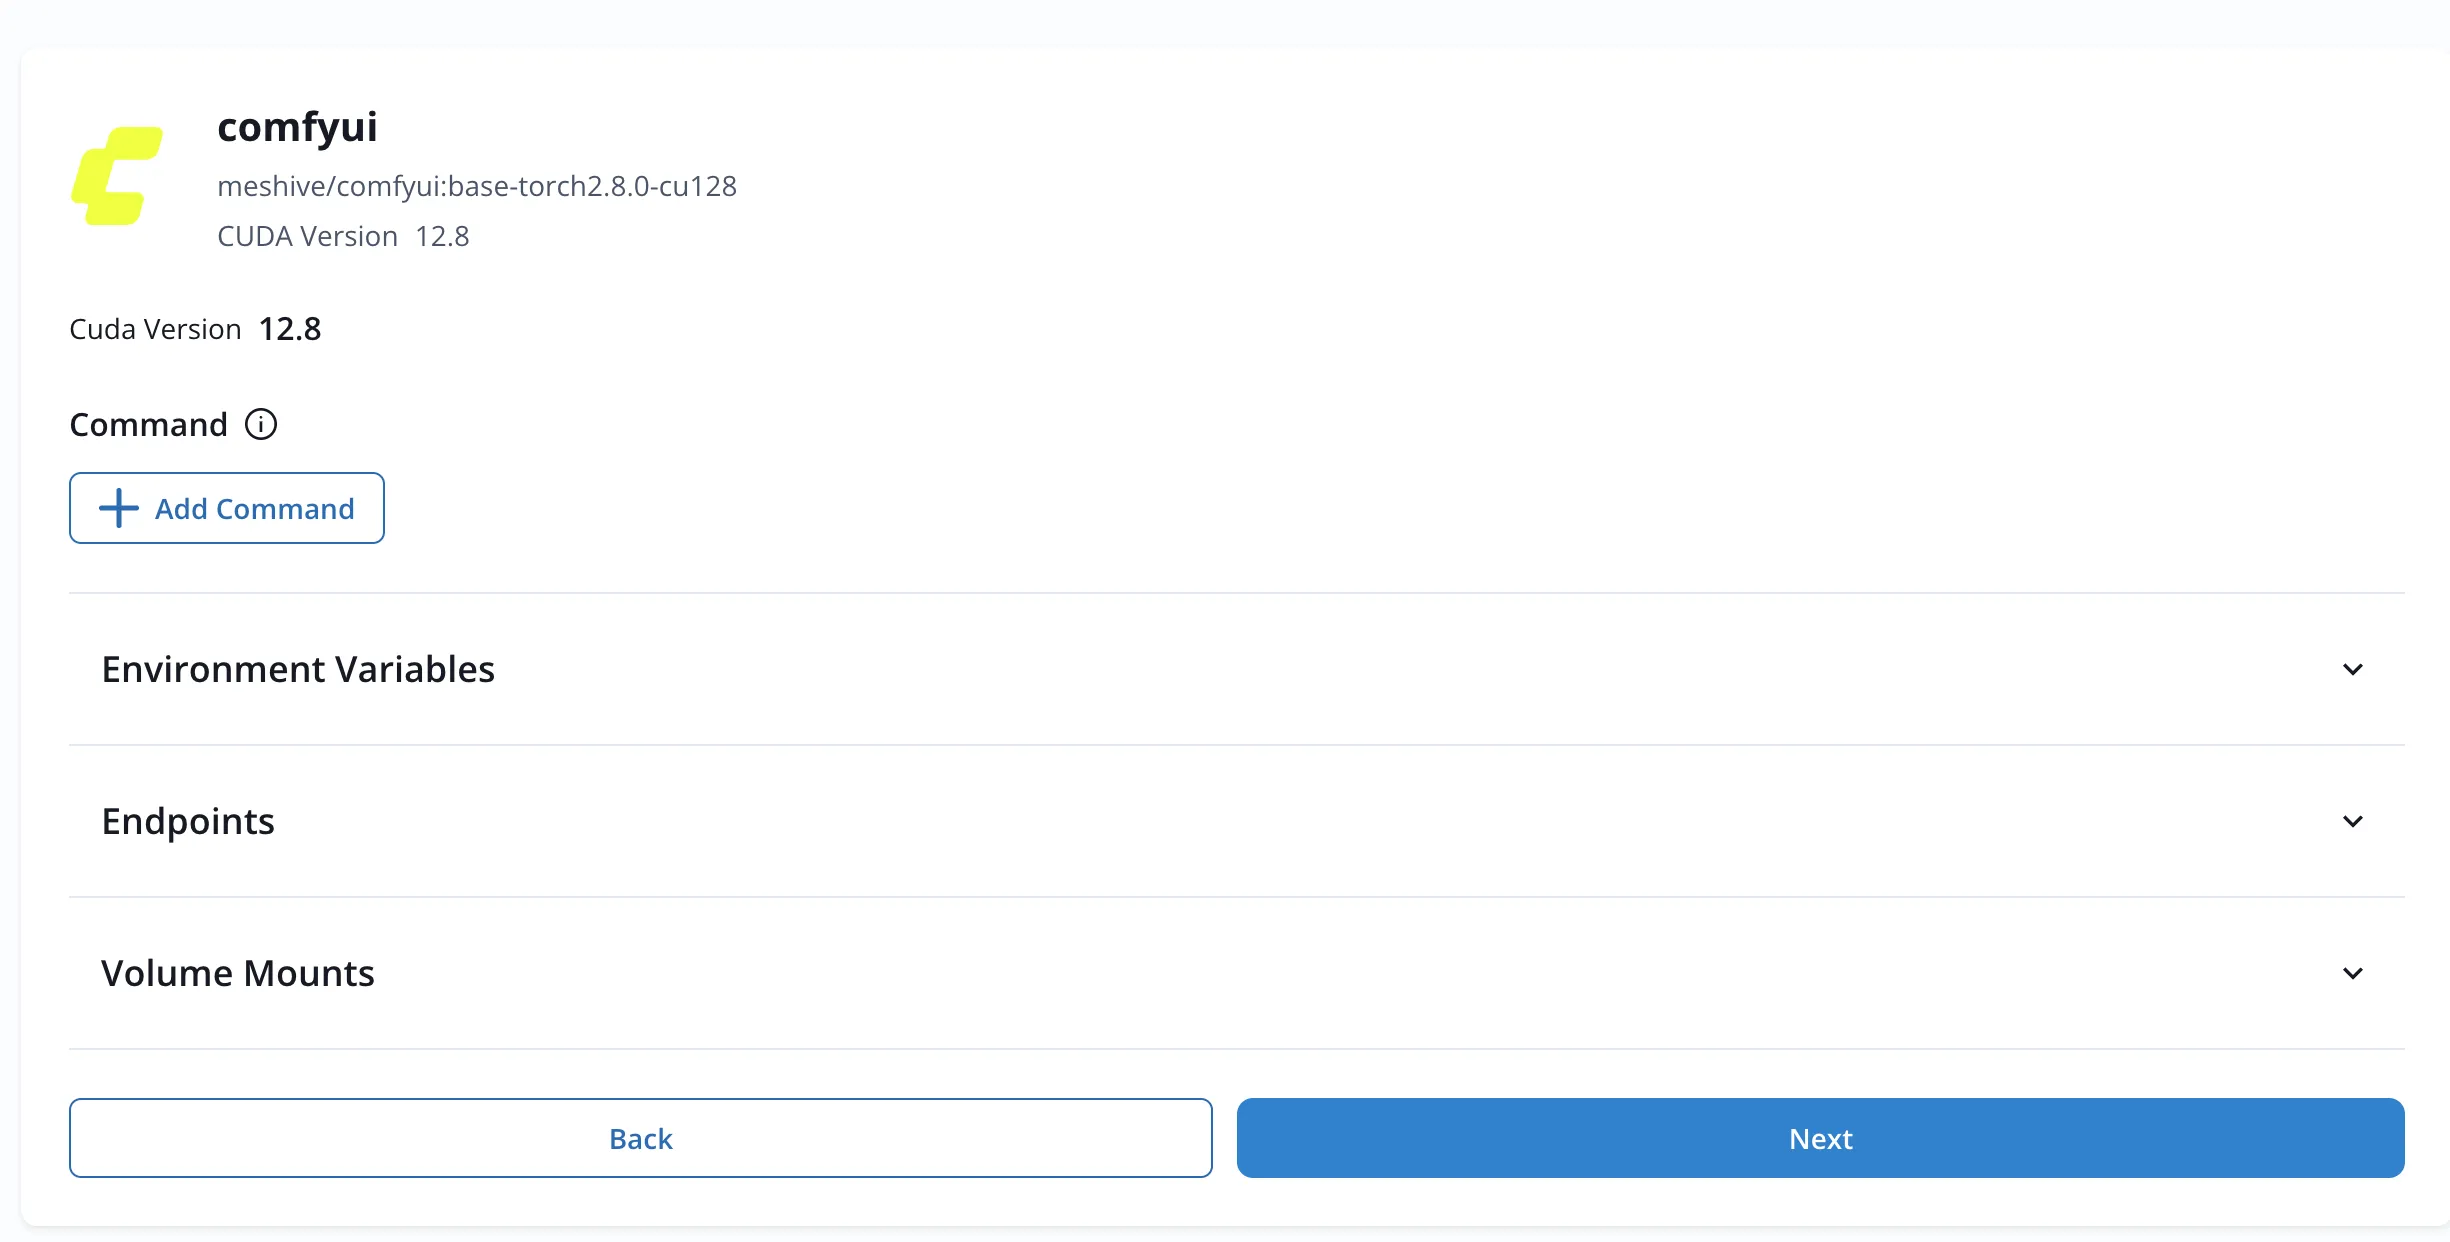
-
Deploy Pod — Select Resources
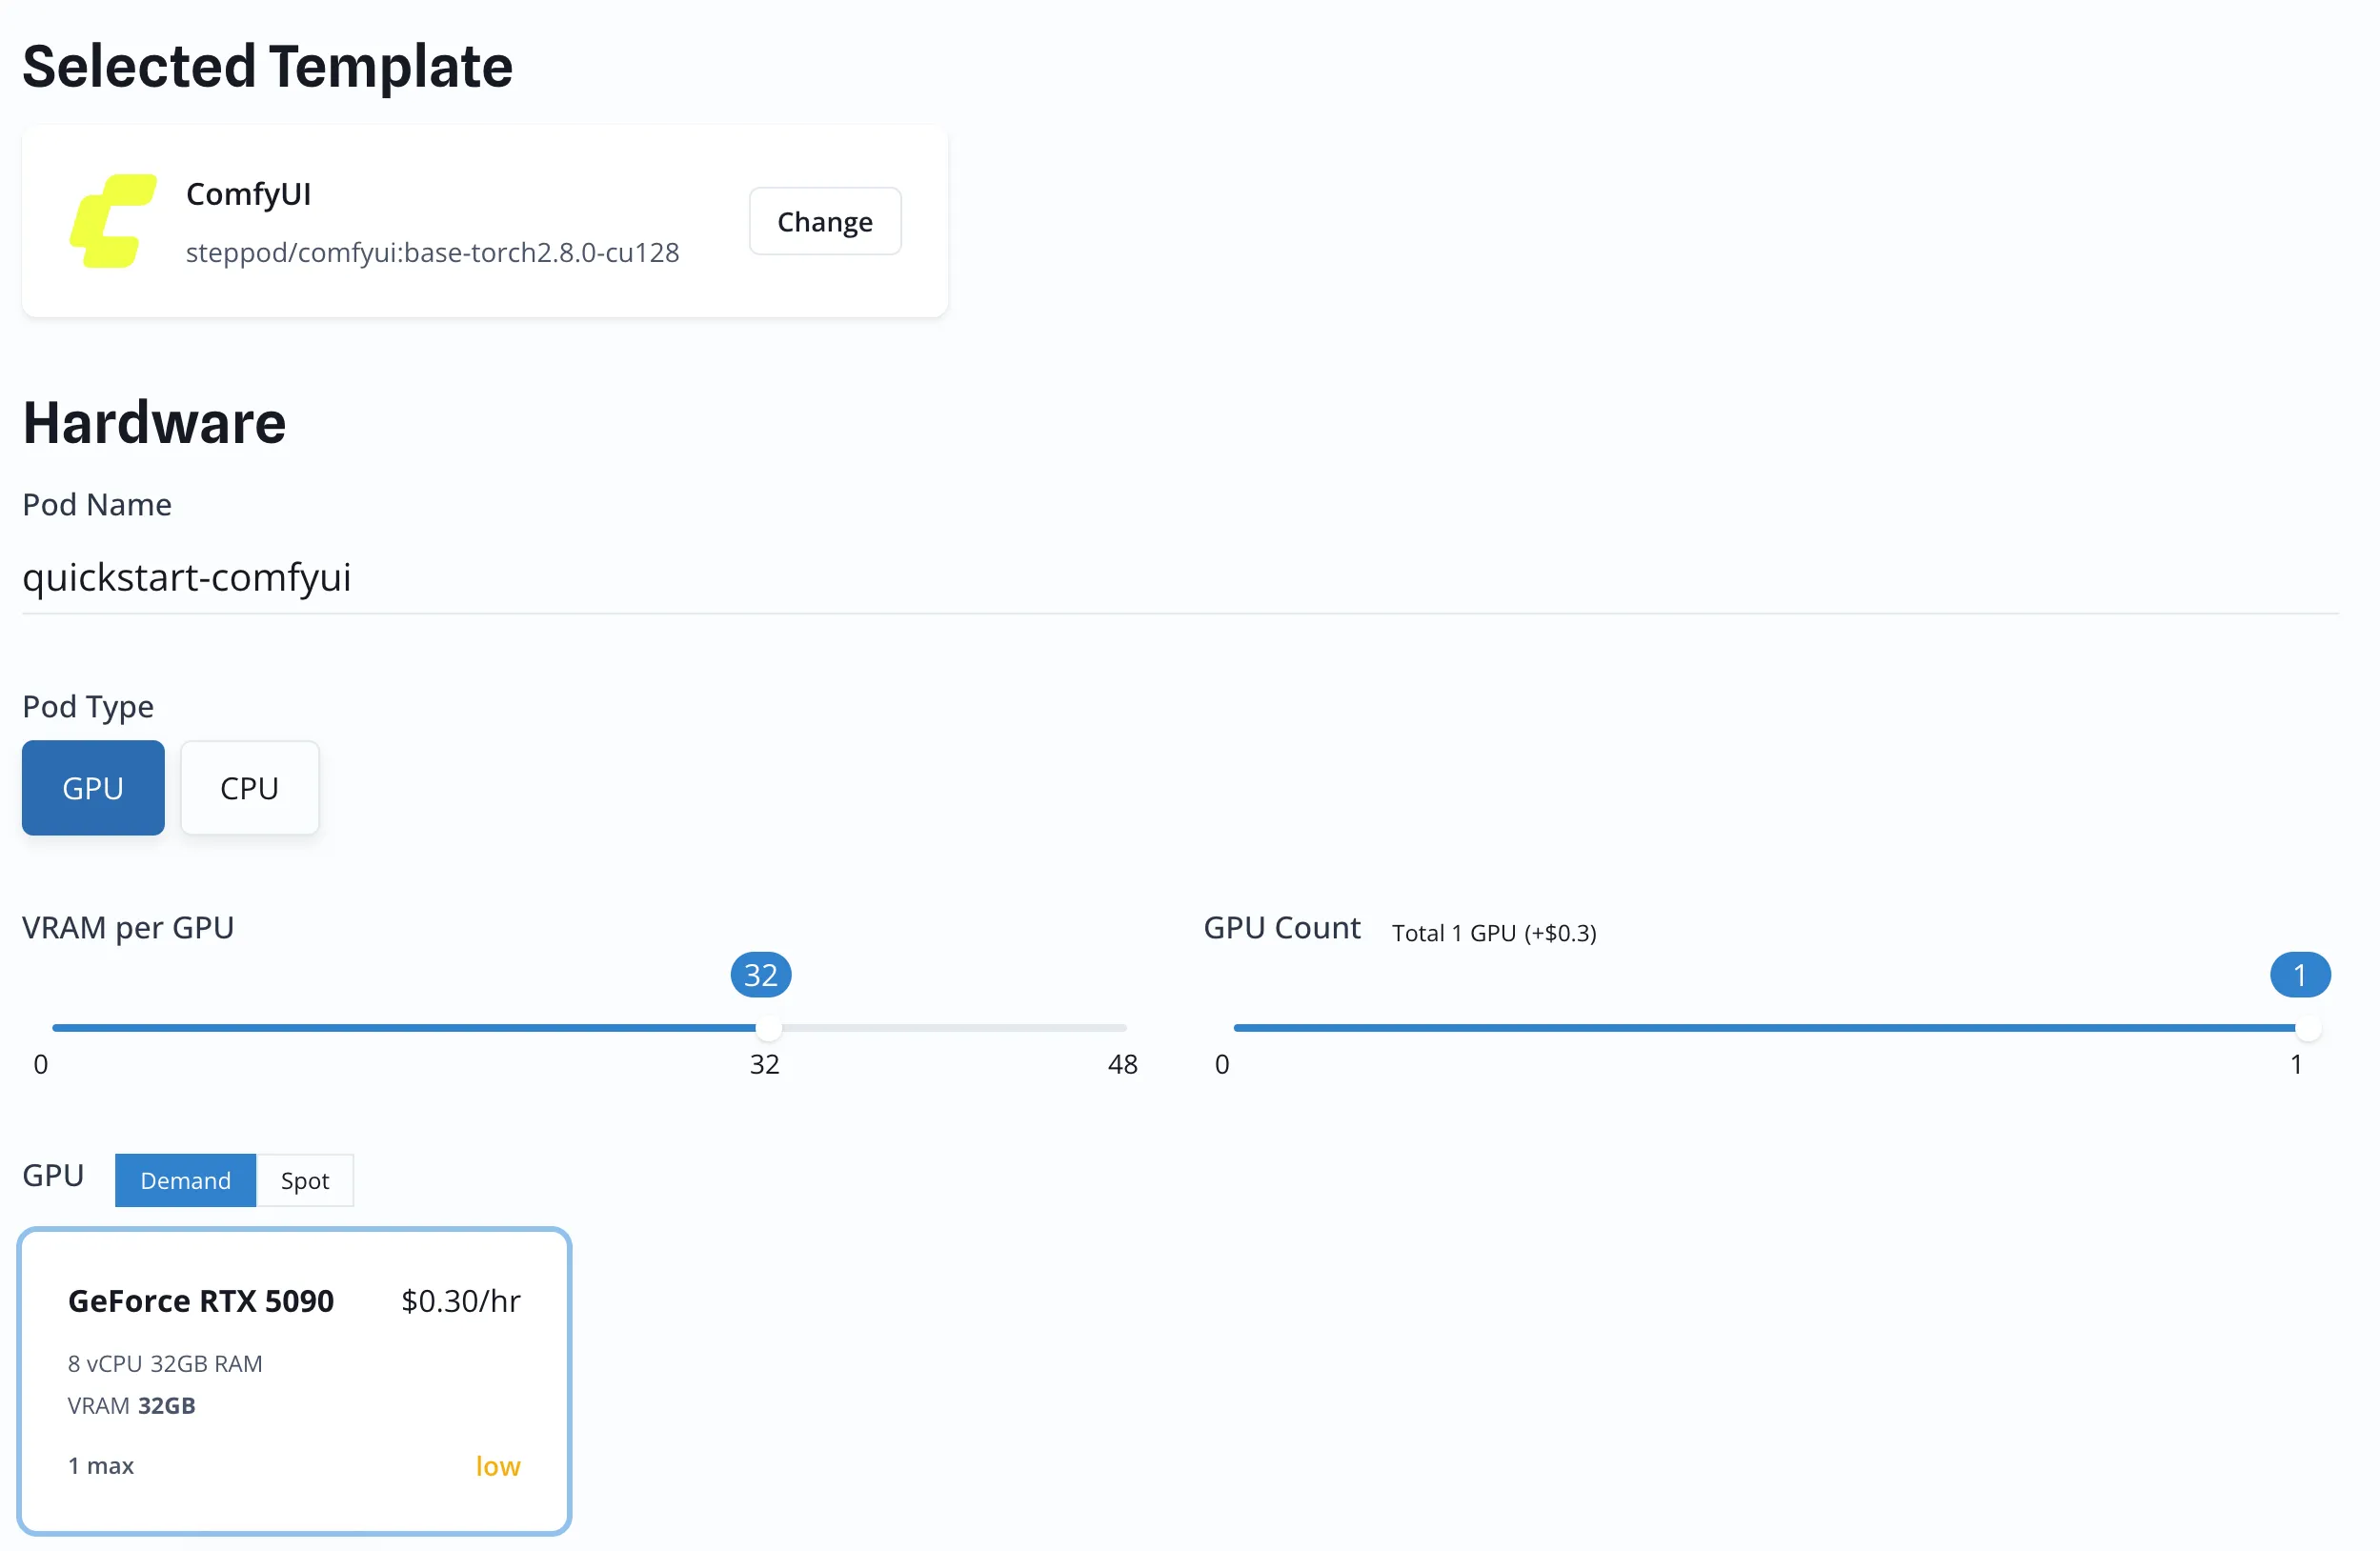
Section titled “Deploy Pod — Select Resources”Enter your Pod name and select VRAM 32 GB, then select RTX 5090.
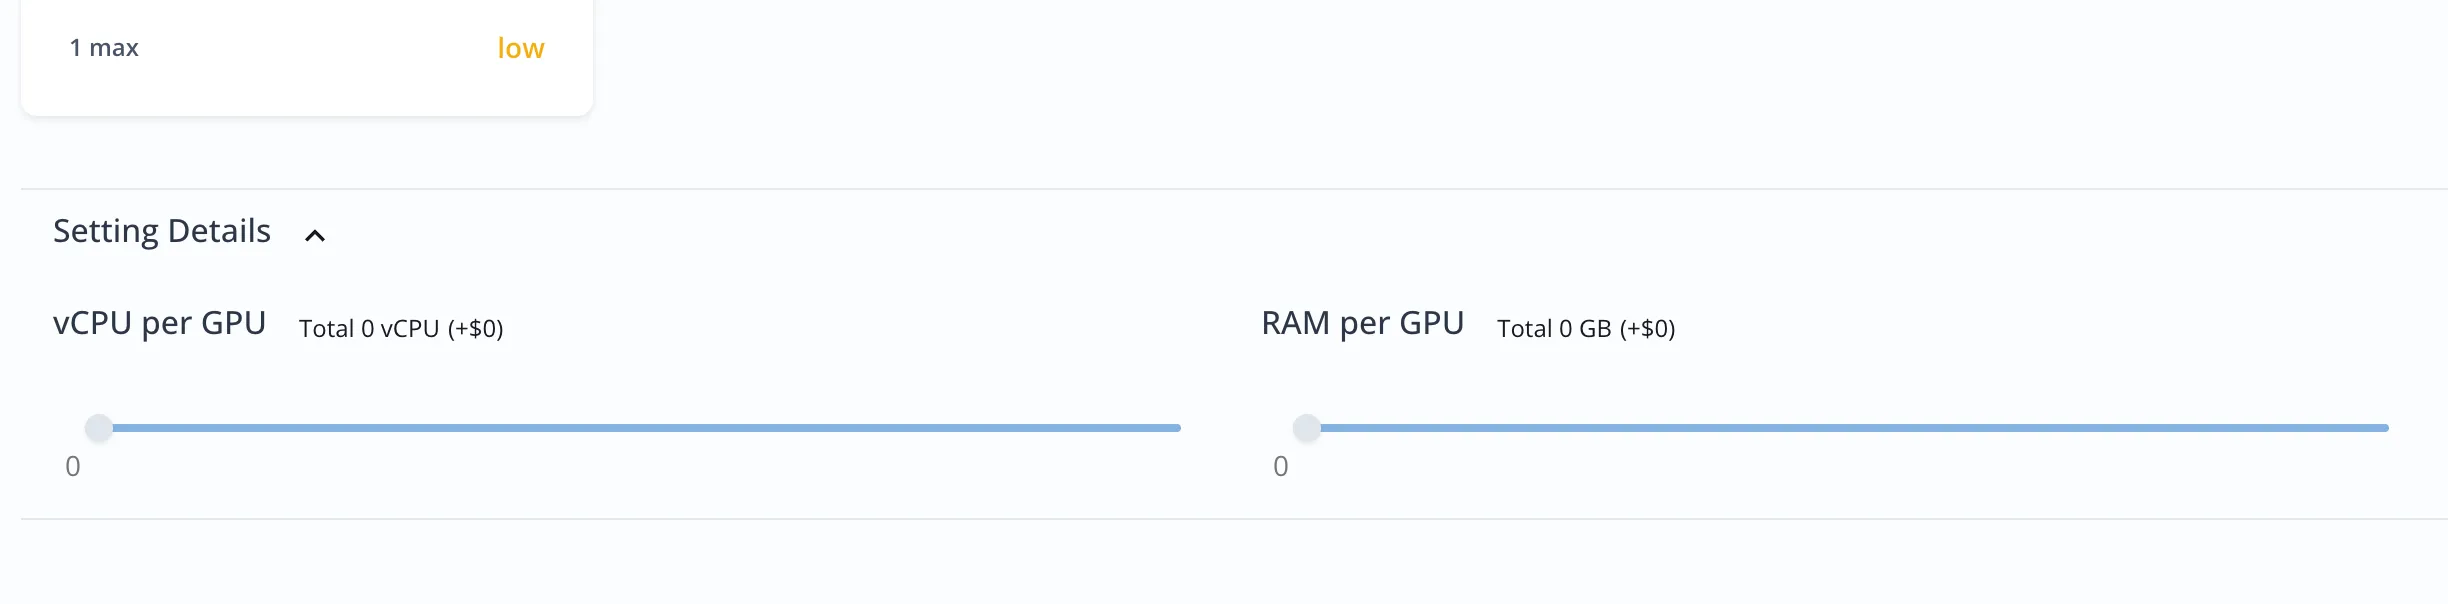
(Optional) Select CPU and RAM.
Storage (optional)
Section titled “Storage (optional)”The ComfyUI template is fully managed — the folders ComfyUI reads models from are provisioned with the Pod and grow as you add models, so there is no volume you have to mount before deploying.
Add a volume only if you want files to survive the Pod itself. Everything the managed folders hold is released when the Pod is deleted (stopping keeps it).
-
Connect ComfyUI and Use
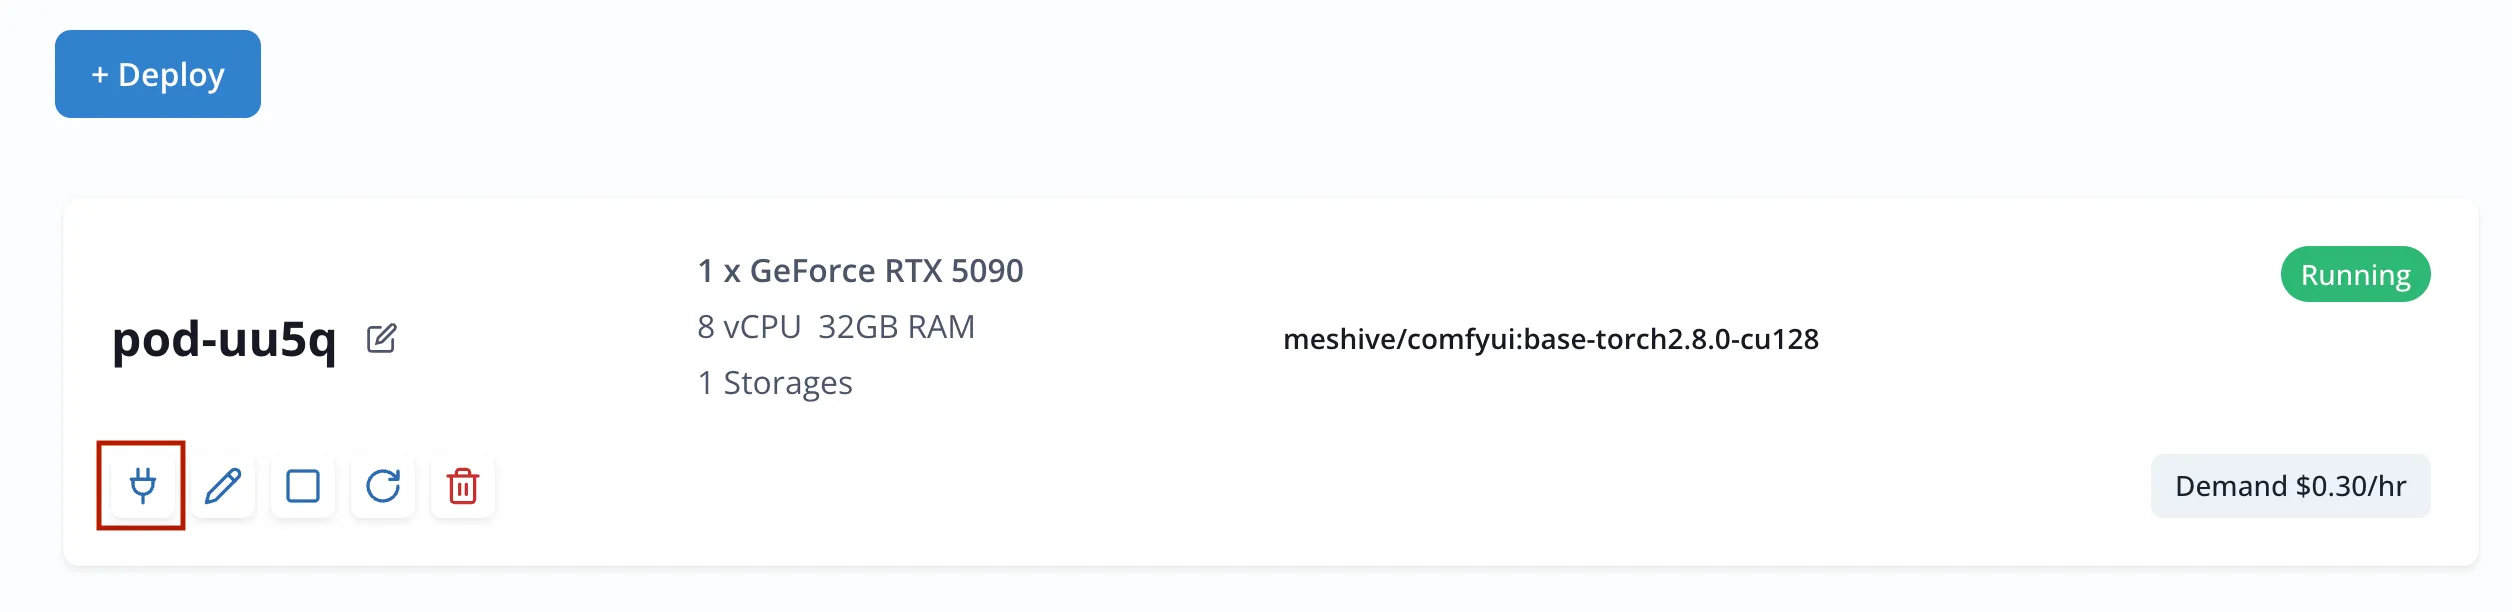
Section titled “Connect ComfyUI and Use”Click Accept & Deploy.
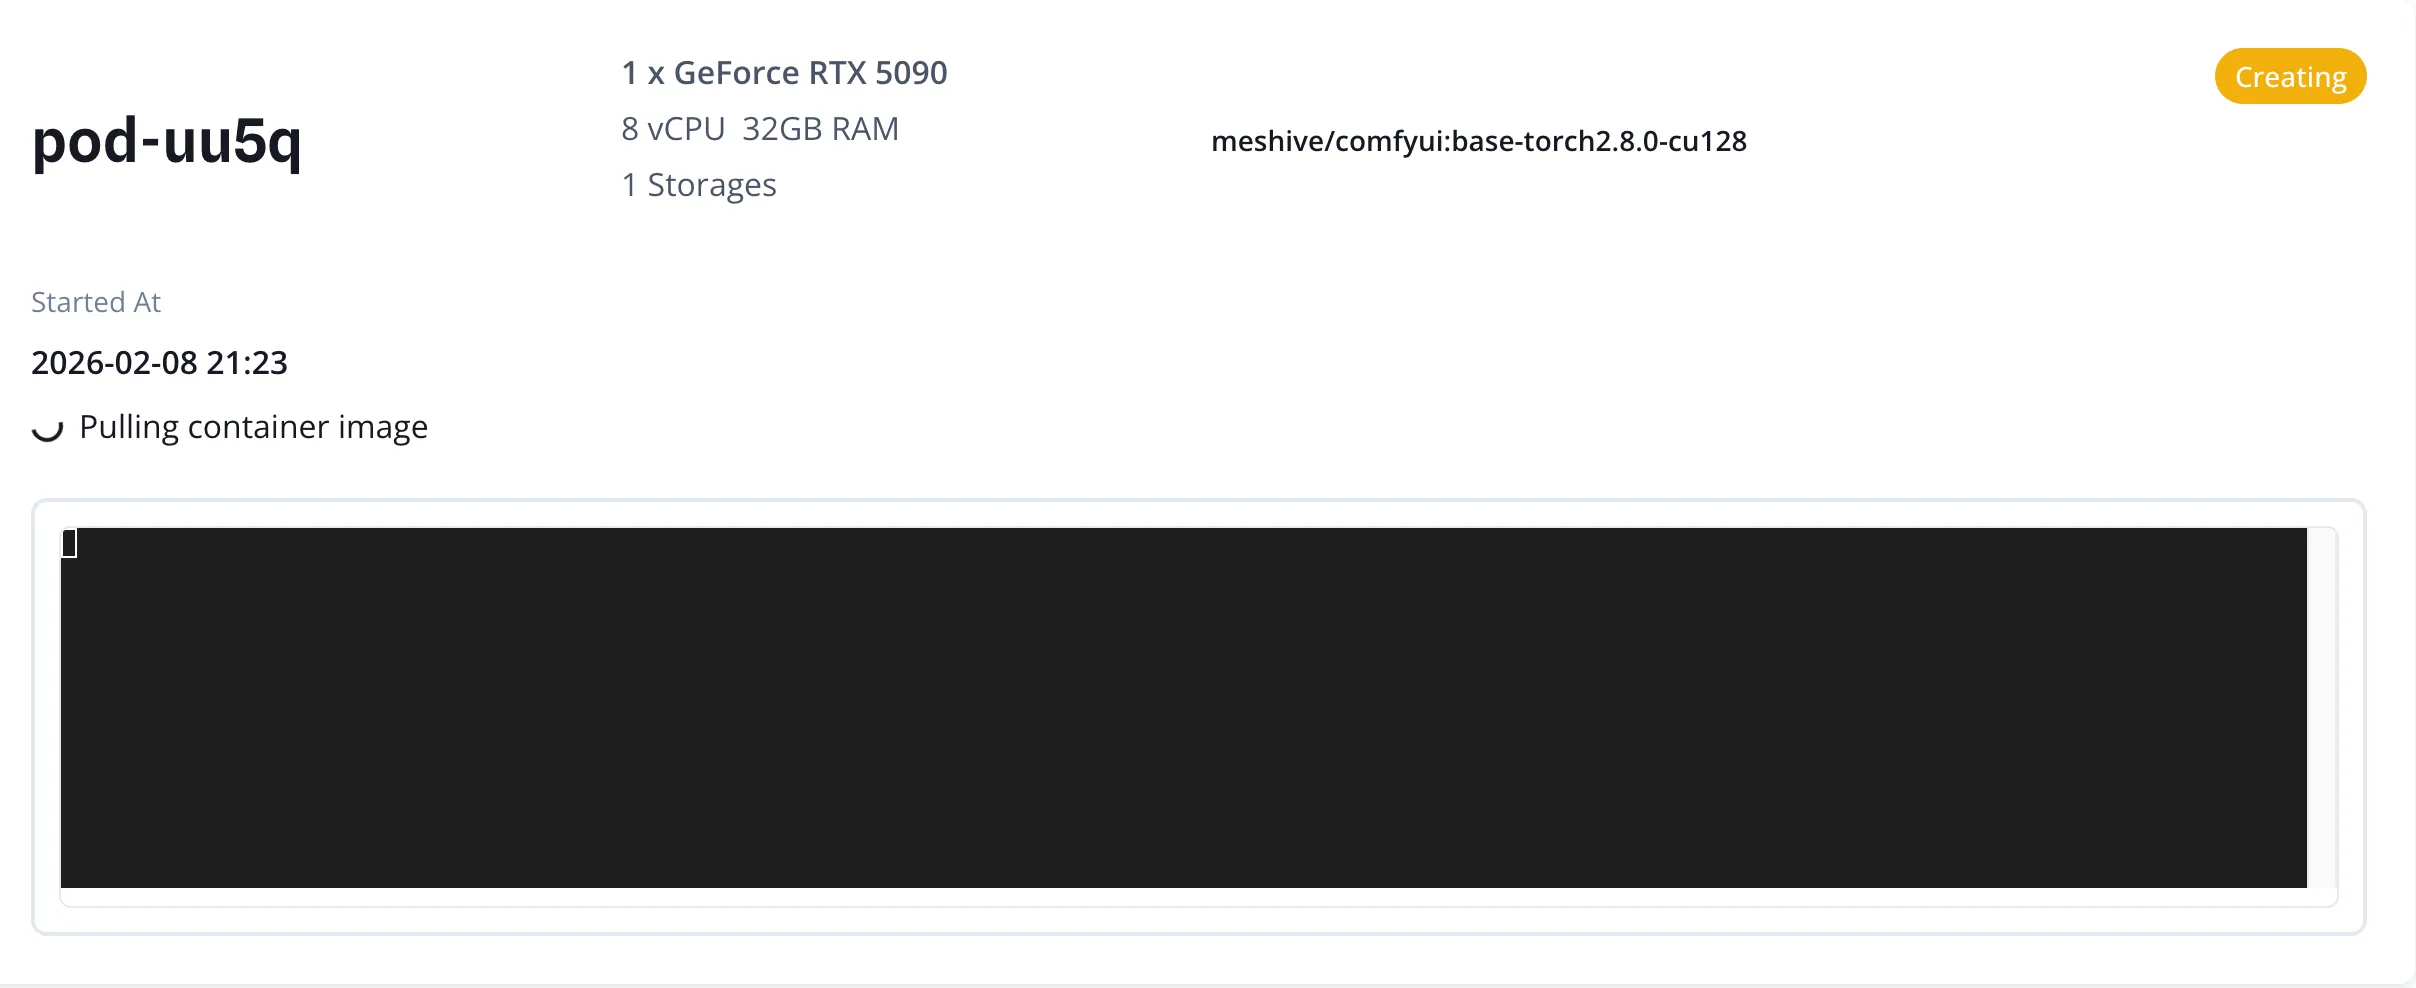
Once fully running, click the Connect button to access the GUI.